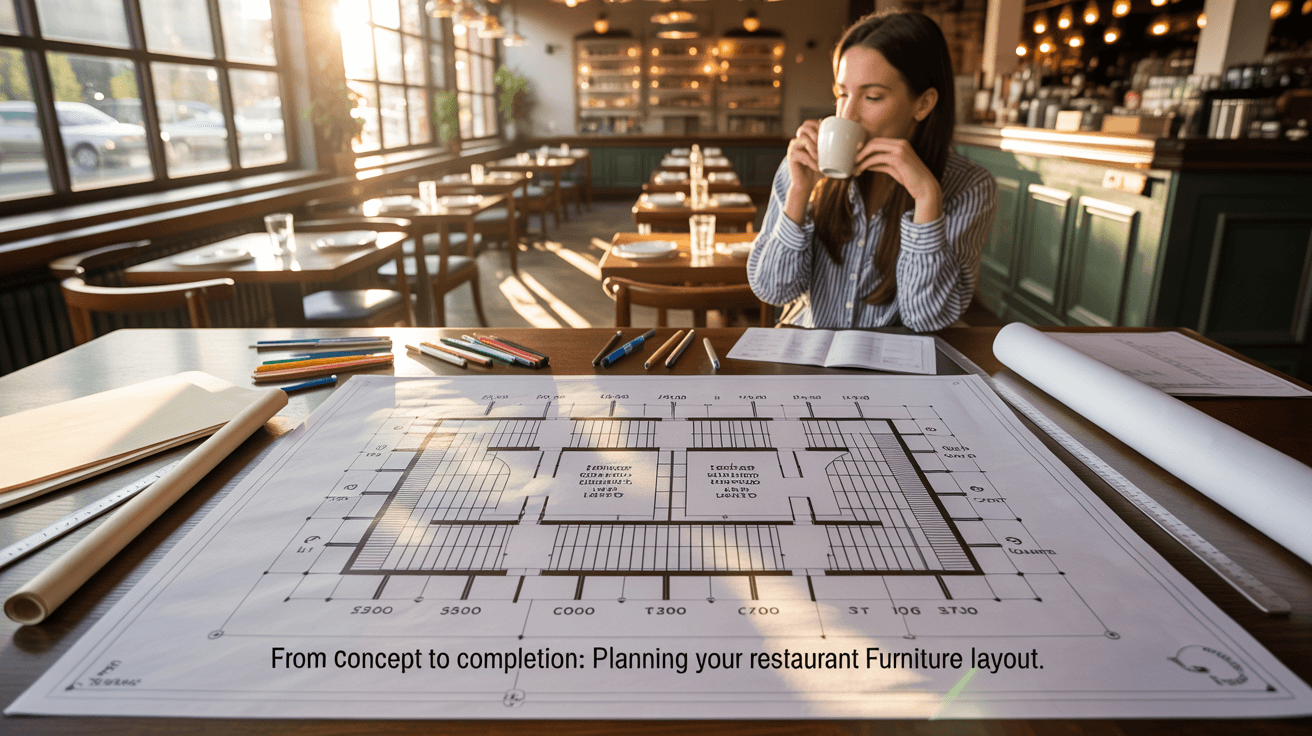
From Concept to Completion: Planning Your Restaurant Furniture Layout guides you step-by-step from initial vision to final setup so you optimize flow, style, and comfort. But here’s the kicker… a well-planned layout drives revenue and guest satisfaction.
1. Define Your Overall Concept
● Clarify service style: fine dining, café, bar
● Identify brand personality and color palette
● Choose mood-setting materials and textures
● Sketch initial zoning of dining, bar, lounge
Ready for the good part? concept clarity anchors every design choice.
| Concept Element | Key Decision |
|---|---|
| Service Style | Menu pace & seating |
| Brand Palette | Material & finishes |
2. Measure and Map Your Space
● Capture precise dimensions of walls and columns
● Note door swings, windows, and service routes
● Map utility locations: power, water, vents
● Create a to-scale floor plan template
What’s the real story? accurate mapping prevents surprises later.
3. Allocate Zones for Traffic Flow
● Designate clear paths for servers and guests
● Separate quiet dining from busy bar areas
● Plan entry, waiting, and queue spaces
● Reserve service stations near the kitchen
This is where it gets interesting… flow planning reduces congestion.
4. Choose Seating Types by Zone
● Booths along walls for privacy and noise control
● Freestanding tables in the center for flexibility
● Bar stools at counters for quick guests
● Lounge chairs in waiting areas for comfort
But here’s the kicker… matching seating to zones maximizes utility.
| Zone | Seating Type | Benefit |
|---|---|---|
| Wall Booths | High-back benches | Acoustic privacy |
| Central Tables | Round & square | Adaptable layouts |
5. Determine Table Heights and Sizes
● Standard dining tables at 28″–30″
● Counter-height options at 36″–42″
● Small bistro tables at 24″ for cafés
● Mix sizes for groups of two to six
Ready for the good part? right table heights boost comfort and turnover.
6. Factor in Accessibility and Compliance
● Maintain 36″ aisle widths for ADA
● Ensure 27″ knee clearance under tables
● Anchor booths to meet seismic codes
● Use non-slip finishes on floors
What’s the real story? compliance protects guests and your reputation.
7. Optimize Sight Lines and Focal Points
● Orient seating toward views or décor walls
● Use low partitions to avoid visual blocking
● Highlight feature areas with signature pieces
● Position service stations discreetly
This is where it gets interesting… clear sight lines enhance ambience.
| Design Focus | Layout Strategy | Impact |
|---|---|---|
| Feature Wall | Facing main seating | High visual appeal |
| Service Station | Off-axis corner | Reduced traffic jam |
8. Integrate Lighting with Furniture
● Pendant lights over tables for intimacy
● Under-bench LED strips guiding aisles
● Floor lamps in lounge nooks for warmth
● Dimmable fixtures adapting day-to-night
But here’s the kicker… lighting integration elevates every furniture piece.
9. Select Durable and Cleanable Materials
● Vinyl or performance fabrics for seating
● Powder-coat metals resisting chips
● Sealed wood tops blocking stains
● No-grout composite tabletops for easy wipes
Ready for the good part? material choice cuts maintenance hours.
10. Plan for Flexibility and Events
● Choose fold-away tables for pop-ups
● Use stackable chairs for quick storage
● Incorporate modular booths on casters
● Reserve space for live performances or tastings
This is where it gets interesting… flexible designs adapt to changing needs.
| Flex Feature | Application | Benefit |
|---|---|---|
| Fold-Away Tables | Off-peak lunchtimes | Instant space gain |
| Casters on Booths | Event reconfig | Fast layout change |
11. Coordinate Color and Texture Schemes
● Match furniture finishes to wall and floor tones
● Use accent cushions echoing brand hues
● Layer textures: leather, wood grain, metal
● Test samples under venue lighting
What’s the real story? cohesive palettes reinforce brand identity.
12. Plan Accessories and Décor Placement
● Integrate planters between seating runs
● Add mirrors to expand visual space
● Place shelving above booths for décor
● Use area rugs to define lounge zones
But here’s the kicker… well-placed accents unify furniture and theme.
| Accessory Type | Placement | Effect |
|---|---|---|
| Mirrors | Behind booths | Perceived depth |
| Rugs | Under lounge chairs | Zone definition |
13. Coordinate Delivery and Installation
● Schedule white-glove delivery for delicate pieces
● Confirm site access and loading zones
● Sequence installation to avoid service disruptions
● Conduct a final walk-through before opening
Ready for the good part? smooth install delivers your vision flawlessly.
14. Train Staff on Layout Efficiency
● Show server paths and shortcut routes
● Teach furniture care and minor repairs
● Align cleaning stations with workflow
● Rotate duties to reinforce layout knowledge
This is where it gets interesting… informed staff maintain your layout’s integrity.
15. Review and Iterate Post-Launch
● Gather guest and staff feedback on flow and comfort
● Monitor dwell times and table turnover rates
● Adjust furniture placement based on data
● Plan minor tweaks during slow periods
What’s the real story? continuous refinement keeps your layout optimal.
Conclusion
A successful restaurant layout emerges from clear concepting, precise mapping, strategic zone planning, and iterative refinement. Apply these steps from concept to completion to craft a dining environment that delights guests and drives profitability.
FAQ
Q1: How wide should server aisles be?
Maintain at least 36″ clear for ADA and efficient service.
Q2: What’s the ideal mix of booth versus table seating?
Aim for a 50:50 ratio, adjusting for your service style and capacity goals.
Q3: Can lighting impact layout flow?
Yes—strategic lighting guides movement and highlights key zones.
Q4: How often should I revise my layout?
Review performance quarterly and tweak as needed.
Q5: Are modular units worth the extra cost?
Absolutely—modularity saves major rework expenses when your concept evolves.